Blinking LED
Introduction
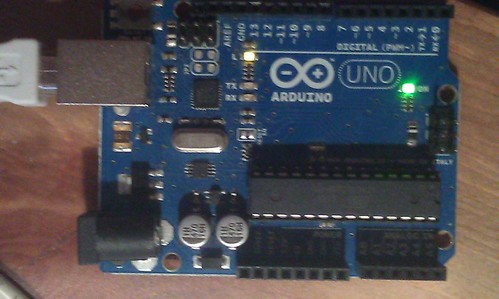
Blinking the built-in led is one of the simplest things we can do on Arduino, so it serves as a nice starting point.
The built-in led is connected to digital pin 13 in Arduino way of naming. AVR-Ada itself does not support Arduino naming convention, but instead uses standard AVR names as specified in the datasheets for the i/o pins.
The digital pin 13 maps to the pin 5 in port B on the atmega328p processor, which powers the normal Arduino.
Our plan is to turn the led on and off by swapping the pin state every second.
Turning the led on and off using Ada
In our example, the digital pins can have two states, enabled or disabled, and they can be either read or written.
To control the built-in led via the digital pin, we need to first put the pin to the output mode and then write the state of the pin to the register which controls the pin.
In code, it means following:
-- Port B, Pin 5 to "Output" mode
AVR.MCU.DDRB_Bits (5) := DD_Output;
-- Port B, pin 5 state to "True", now led should be on
AVR.MCU.PORTB_Bits (5) := True;
And when you want to turn the led off, you simply change the state to False:
-- Port B, pin 5 state to "False", led should turn off
AVR.MCU.PORTB_Bits (5) := False;
And when we do this in a loop, we get the complete program:
with AVR;
with AVR.MCU;
with AVR.Real_Time.Delays;

use AVR;

procedure Blink is
   Led_On : Boolean := False;

   LED_PIN : constant := 5;
begin
   MCU.DDRB_Bits (LED_PIN) := DD_Output;
   loop
      Led_On := not Led_On;
      MCU.PORTB_Bits (LED_PIN) := Led_On;
      delay 1.0;
   end loop;
end Blink;
When you look at the code, you should notice 'delay 1.0;' and 'with AVR.Real_Time.Delays;' lines. The delay statement will make the program to wait 1.0 seconds before continuing.
And 'with AVR.Real_Time.Delays;' is there because internally 'delay' is implemented in AVR.Real_Time.Delays package and at the moment AVR-Ada does not include it automatically to the source code when 'delay' is used. This is a bug in AVR-Ada and will be hopefully fixed eventually.
Building
To compile the source code, you need a project file:
project Blink extends "avr_app" is
   for Main use ("blink.adb");
   for Object_Dir use "objects";
   for Exec_Dir use ".";
   for Source_Dirs use (".");
end Blink;
The code is compiled with avr-gnatmake and put into ihex format with avr-objcopy:
avr-gnatmake -p -XMCU=atmega328p -Pblink.gpr
avr-objcopy -O ihex -R .eeprom blink.elf blink.hex
Parameters of avr-gnatmake explained:
- -p - create object directory automatically
- -XMCU=atmega328p - generate code for atmega328p processor (normal Arduinos use it)
- -Pblink.gpr - use project file 'blink.gpr'
The resulting blink.hex can be uploaded to Arduino UNO using avrdude:
sudo avrdude -V -c arduino -p m328p -P /dev/ttyACM0 -b 115200 -U flash:w:blink.hex
After the upload finishes, you should see the led blinking on Arduino once per second.
Get the code
The full code can be found from my Sourcehut arduino-blink-led repository.